

3D Rendering Workflow
Over the past four years, we’ve had the privilege of helping over a hundred clients bring their projects to life. Through this experience, we’ve developed a streamlined, client-centric 3d rendering workflow designed to make your experience as seamless and enjoyable as possible. Let’s walk through our step-by-step process and see how we tailor our approach to meet your unique needs.
Our 3D Rendering Workflow Steps
Step 1: Project Understanding and Proposal
Once we’re on the same page, we get into the nitty-gritty. You provide us with the preliminary project files, and we take a deep dive to understand the scope, complexity, and requirements of your project. Based on this, we prepare a detailed quotation for you. This isn’t just a price sheet; it’s a comprehensive document that includes a timeline and deliverables. We lay out each step, so you know exactly what to expect and when. From initial drafts to final renders, everything is clearly mapped out.
We make sure our quotations are thorough and comprehensive, giving you a clear picture of the entire process. We believe in full transparency, so there are no hidden costs or surprise fees. We also include a detailed timeline that breaks down each stage of the project, from the initial draft to the final deliverables. This helps you keep track of the progress and know when to expect updates. Additionally, we share our service contract with you, which describes all the deliverables and terms. Once you authorize the contract, we get started promptly.
Step 2: File Sharing
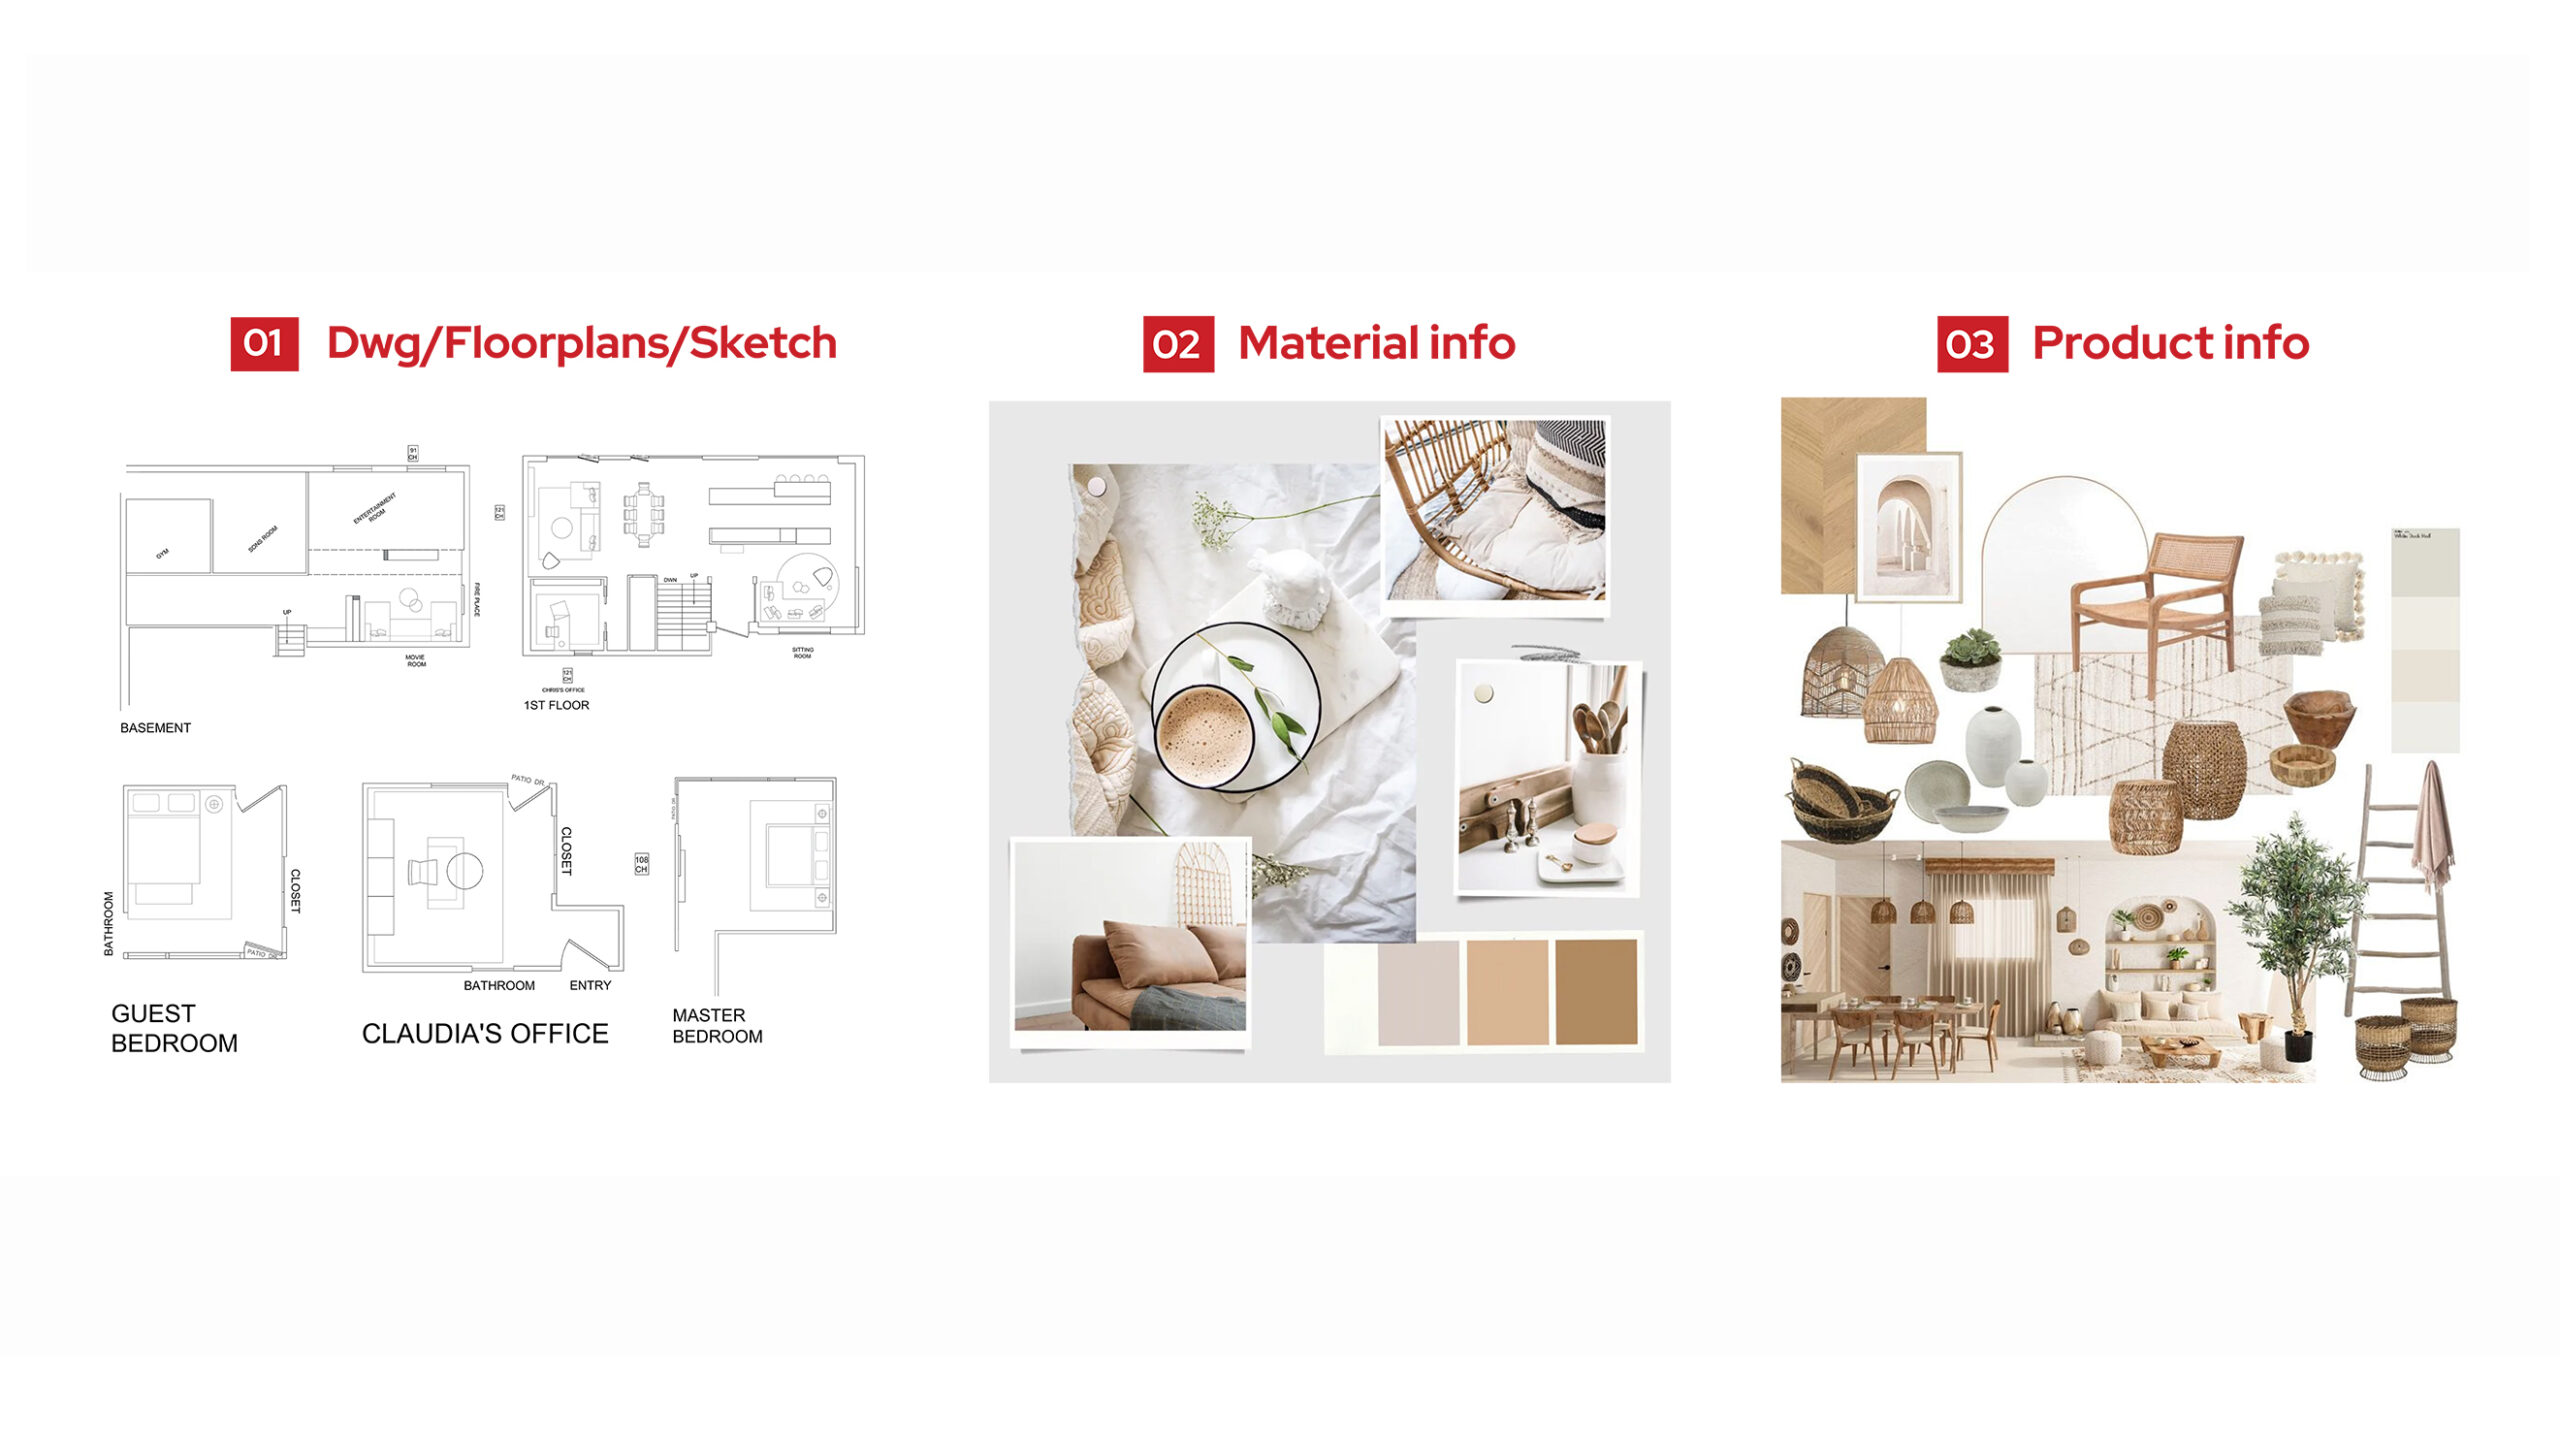
With the green light on the quote, it’s time for some file sharing. We collect all the necessary files from you to ensure the 3D visuals you receive are spot on. Here’s a quick rundown of what we usually need, not everything here is mandatory:
- CAD Drawings
- Project PDFs
- Concept Sketches
- 3D model of the design (if available)
- Mood boards
- Material references or color palettes
- Inspiration images
- Site photos
- Furniture layouts and web links
This information helps us create highly accurate and detailed renders. We believe that the more information we have, the better we can bring your vision to life. This step is crucial because it sets the foundation for everything that follows.
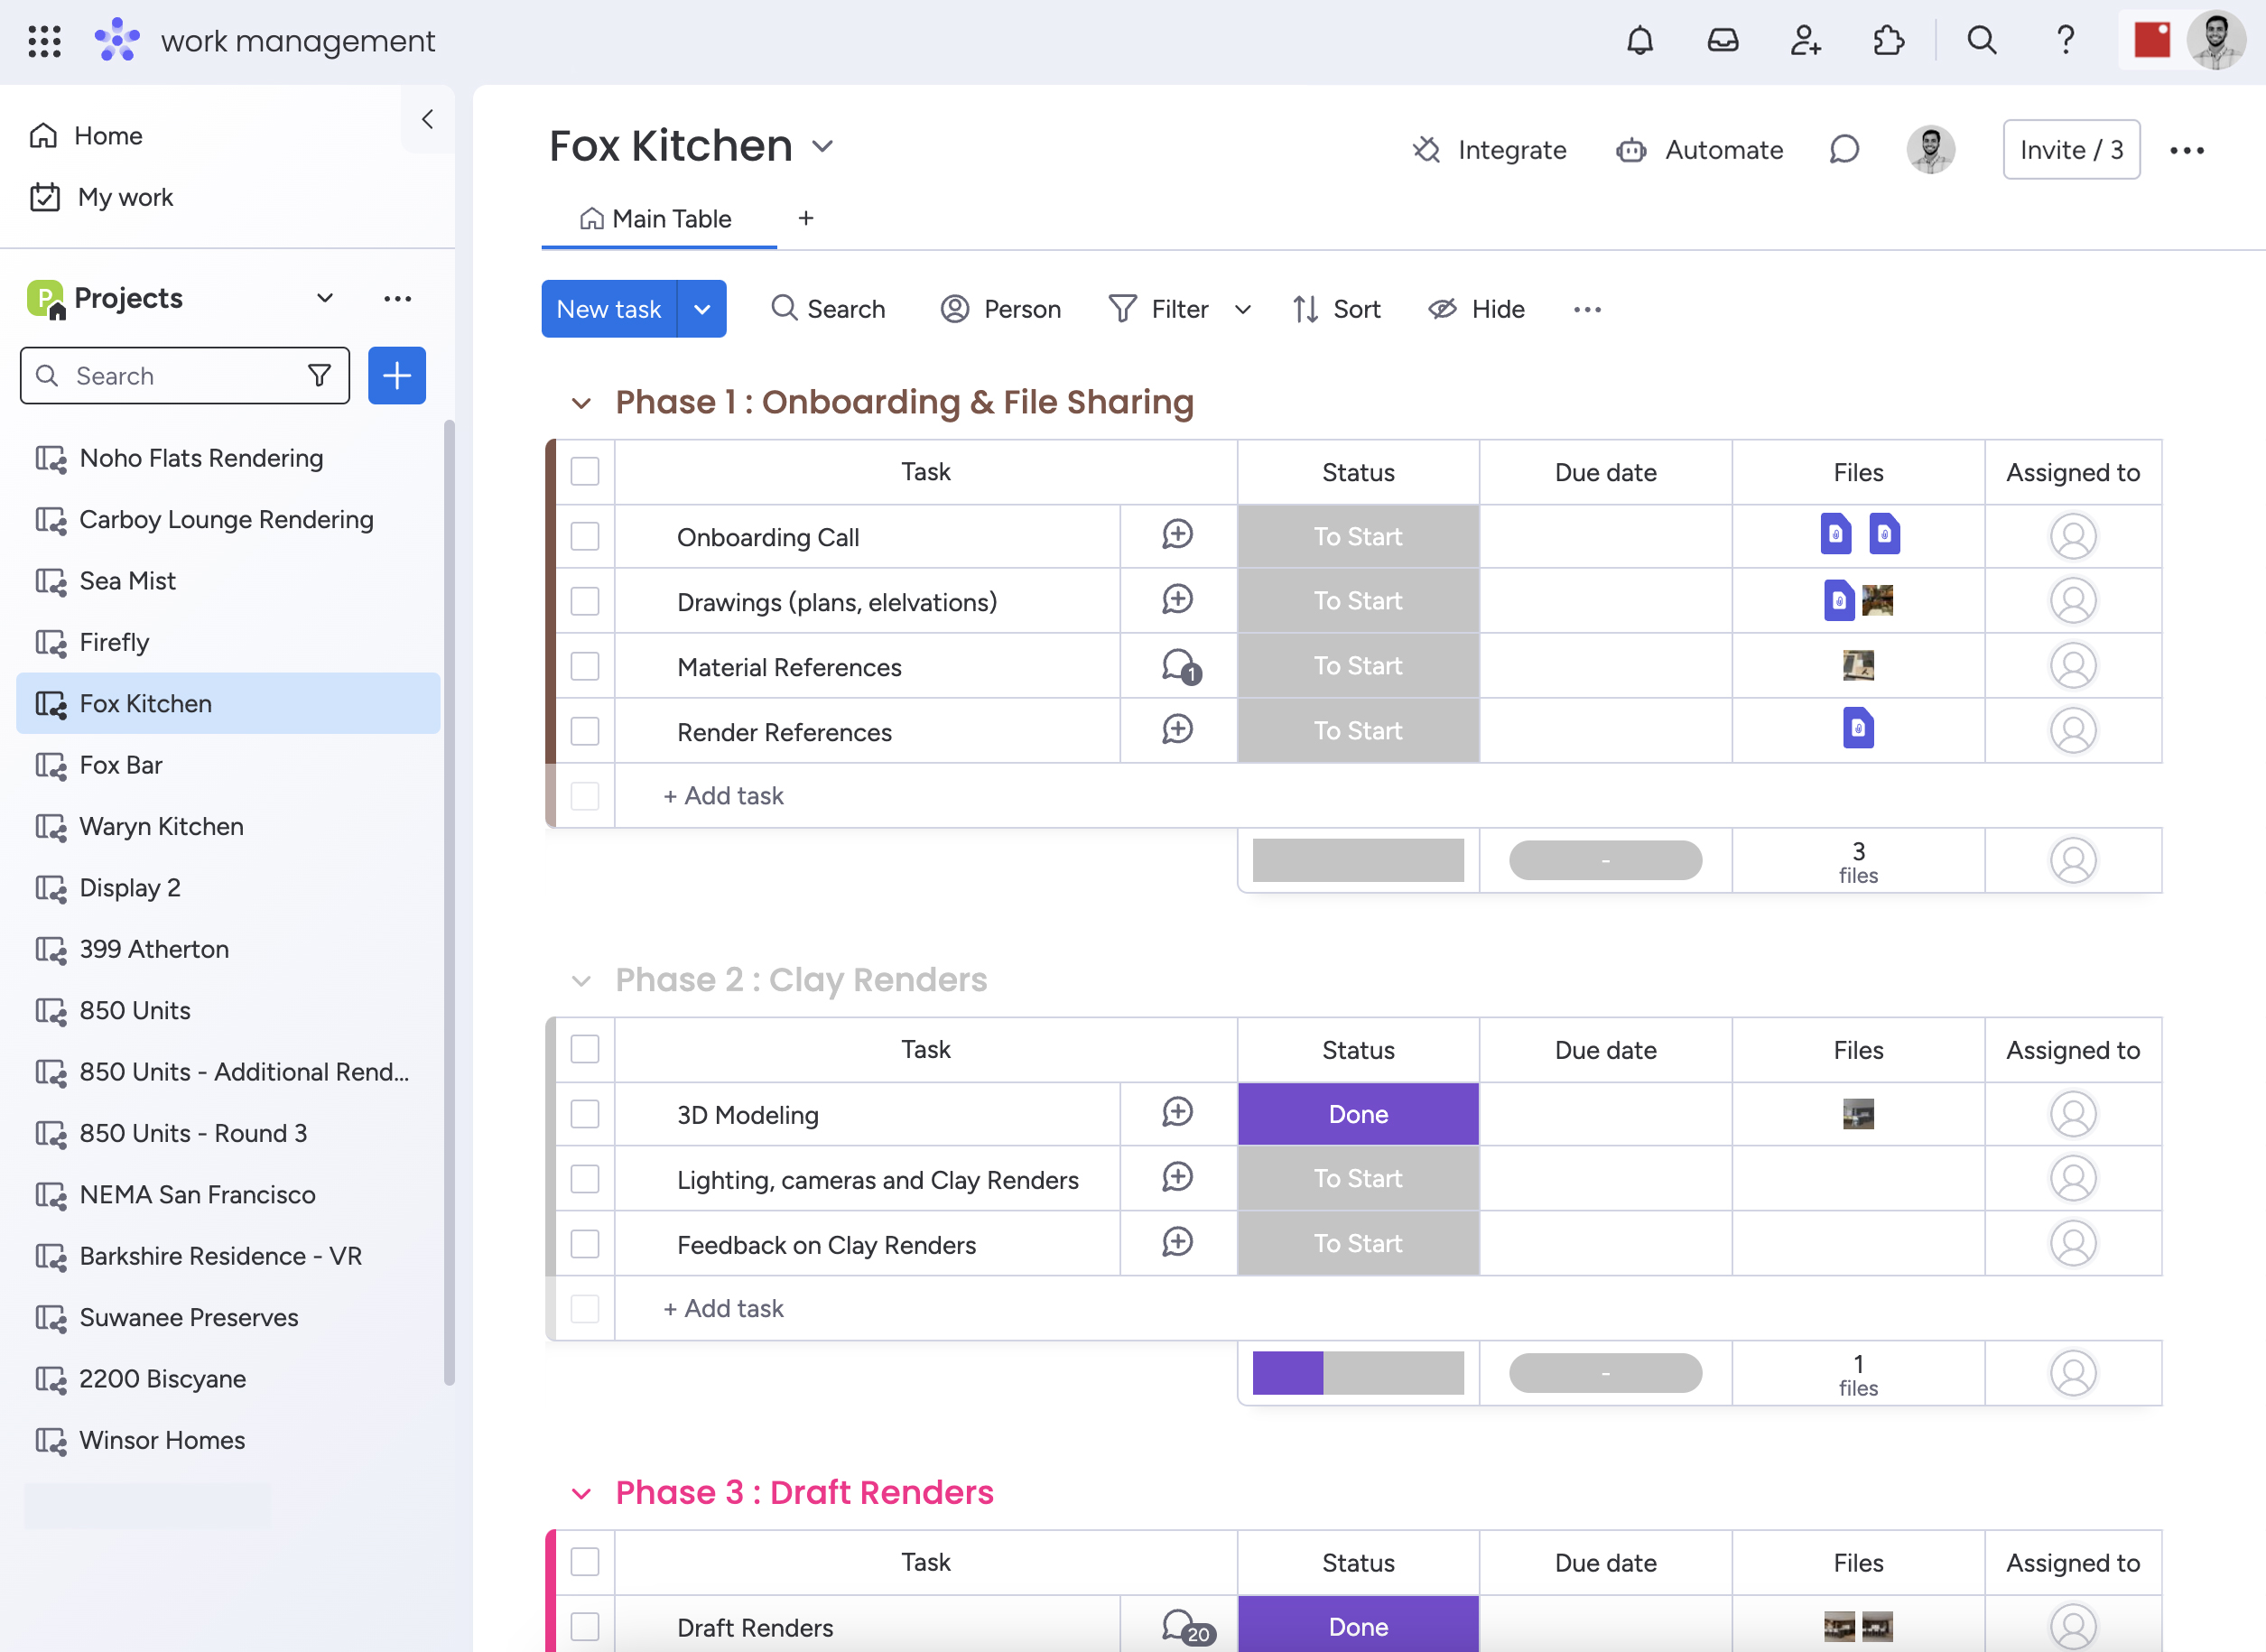
Step 3: Onboarding and Dashboard Set Up
One of the standout features of our onboarding process is our intuitive client portal. We create a personalized dashboard for you where you can track every step of your project in real-time. Need to provide revisions? No problem. You can do it directly through the portal, or even via our mobile app if you’re on the go. And for more complex revisions, we’re always happy to hop on a review call. Our client portal is designed with your convenience in mind. It’s user-friendly and accessible from any device, making it easy for you to stay updated on the progress of your project. You can see the timeline, review drafts, provide feedback, and communicate with our team all in one place. This ensures that there’s no miscommunication and that we’re always on the same page.
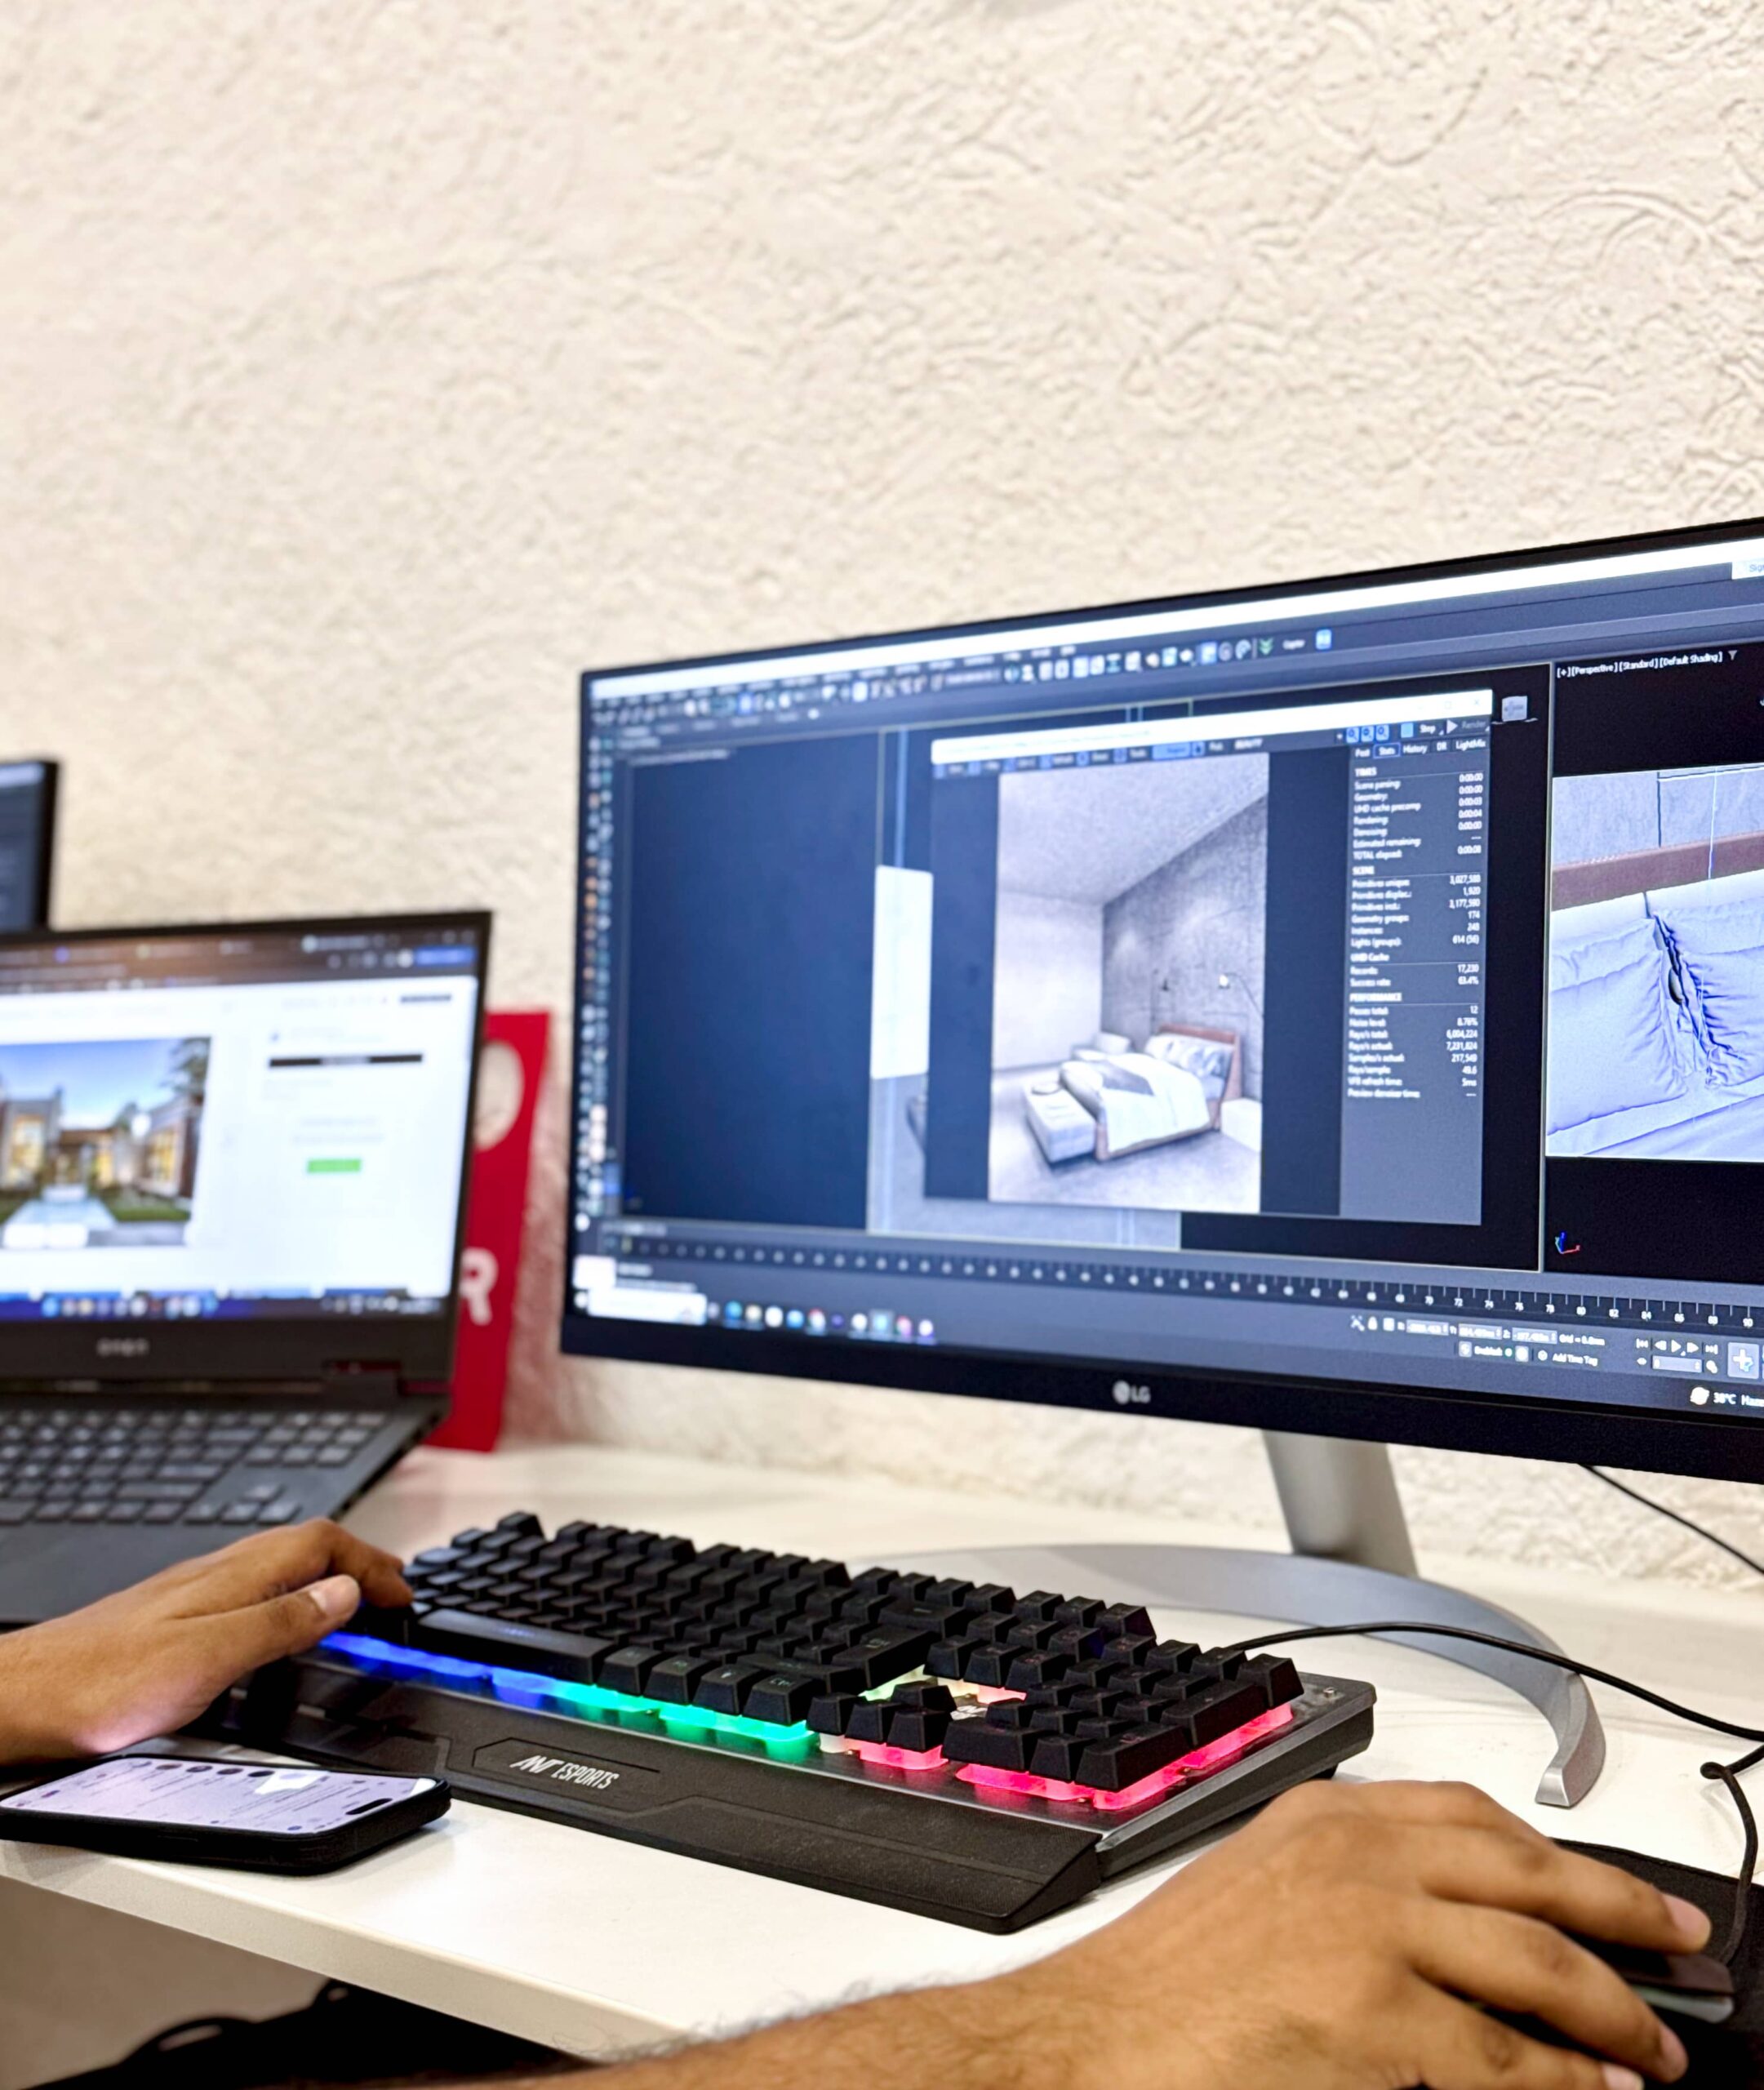
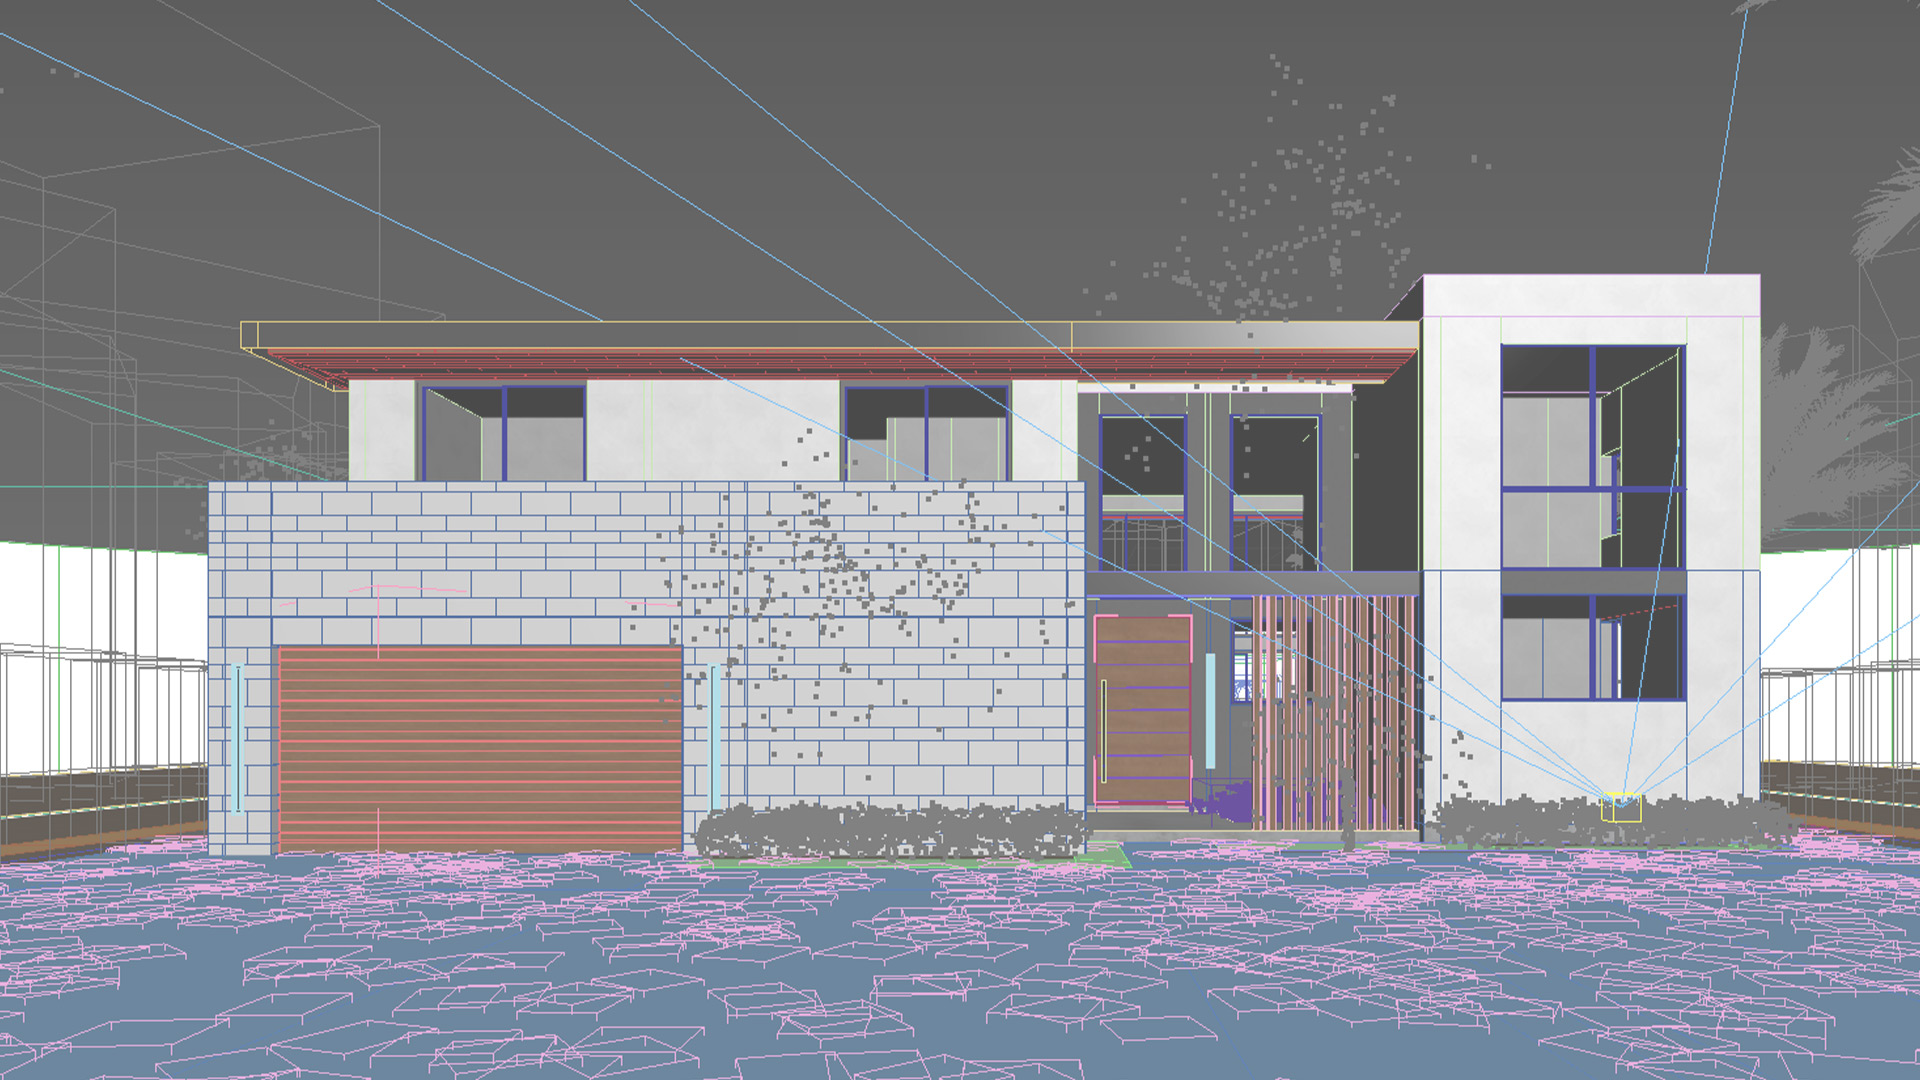
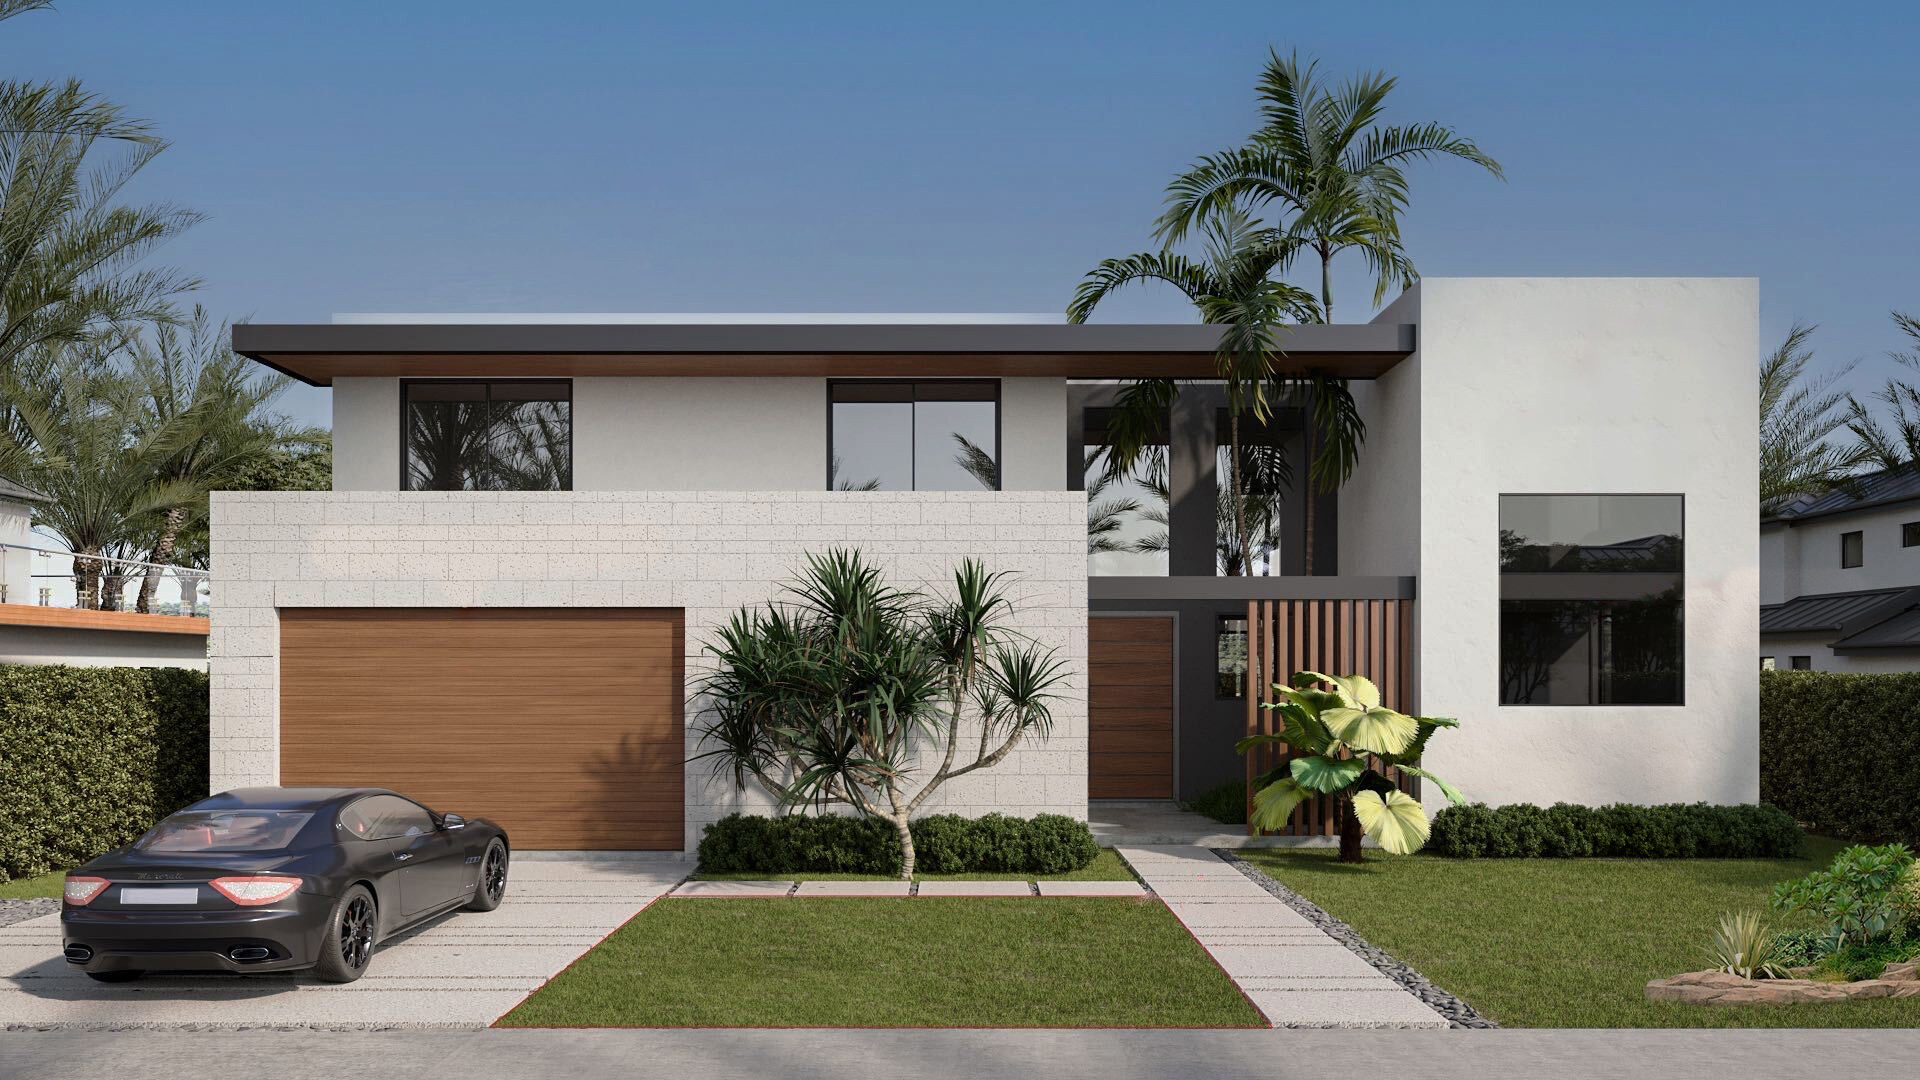
Step 4: 3D Modeling and Texturing
This is where the magic really begins. Our talented 3D artists step in to start building your project in a digital space. After thoroughly understanding the project brief, they create a detailed 3D model of your space. Once the model is ready, we add textures to bring it to life. This includes everything from materials and finishes to lighting and vegetation.
We take great care in this step to ensure that every detail is accurate and realistic. Our artists use the latest software and techniques to create high-quality models that are true to your vision. We pay attention to the smallest details, from the texture of the walls to the lighting in the room, to create a realistic and immersive experience.
We don’t stop there. We know how crucial it is to get your feedback, so we share draft renders with you. These drafts are the first look at your project, giving you a chance to see the progress and ensure we’re on the right track. We value your input and use it to refine the renders and make any necessary adjustments.
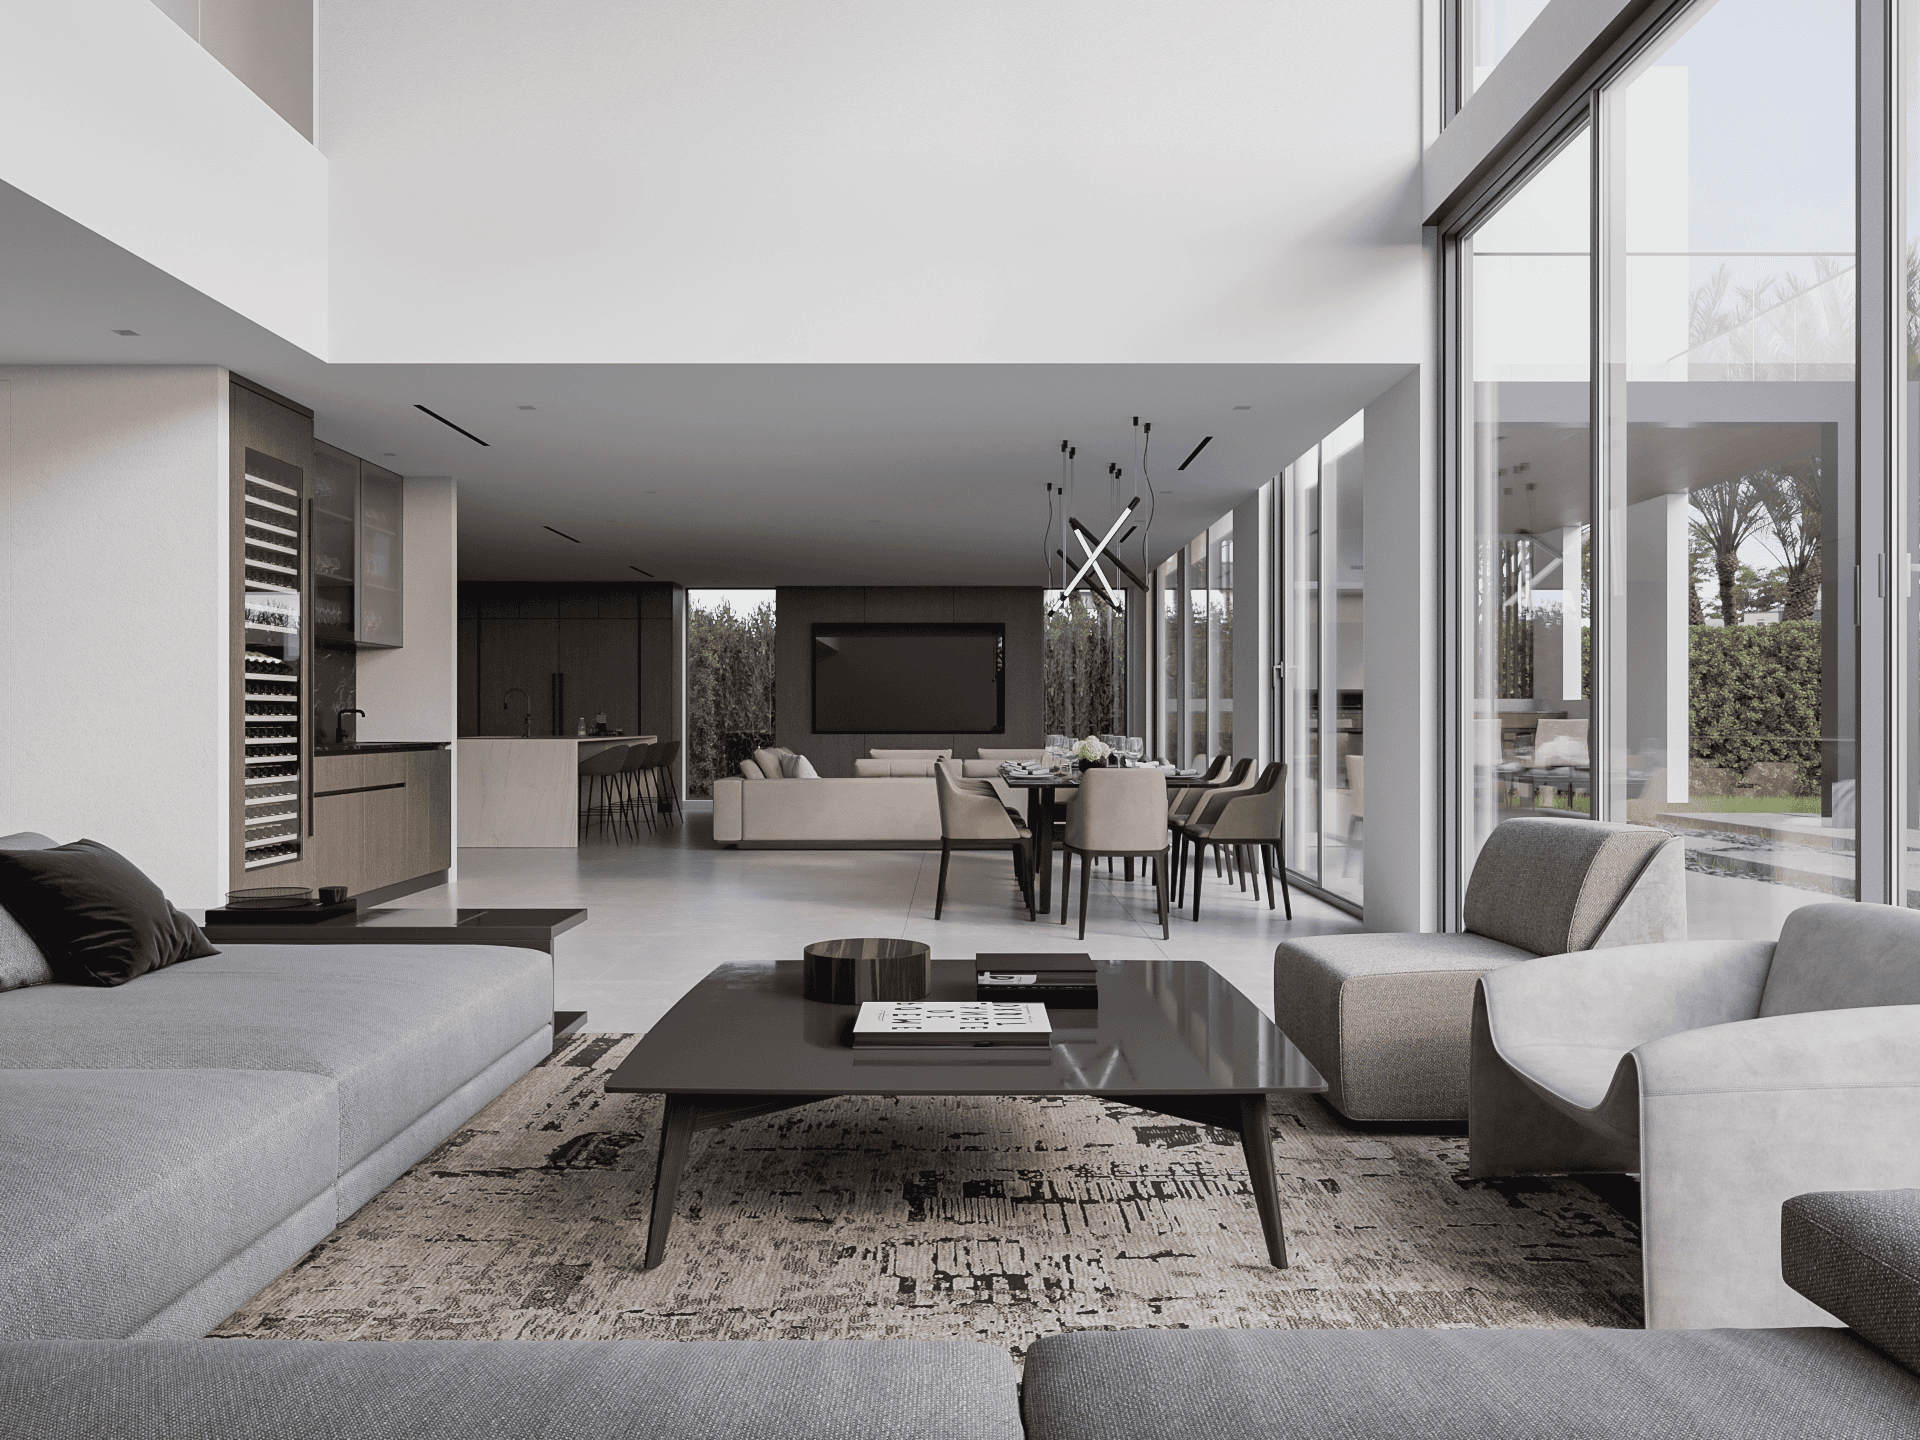
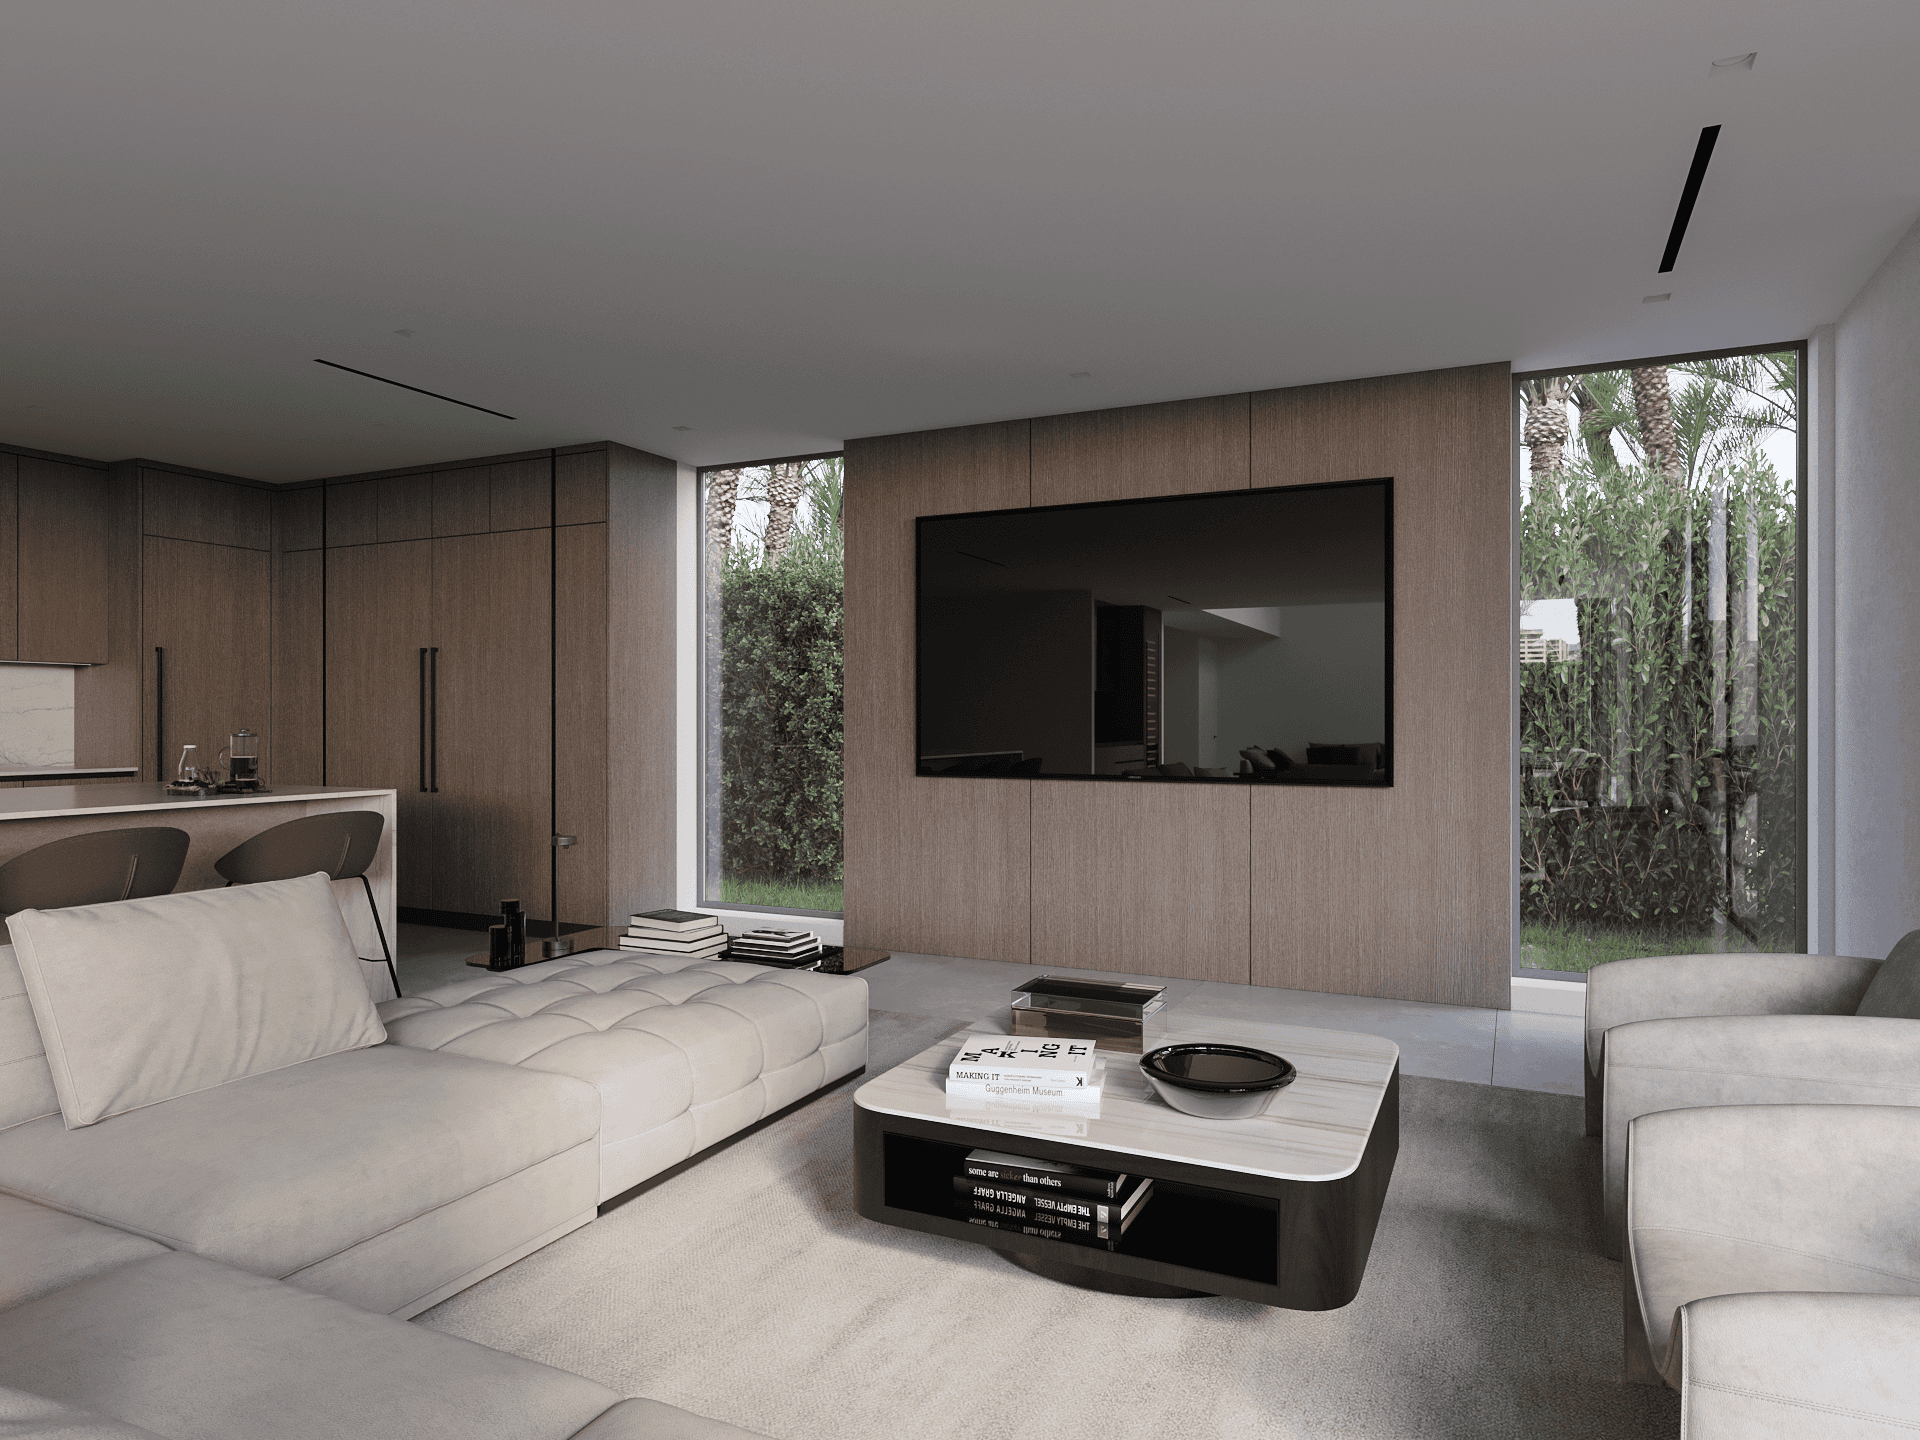
 3D Model
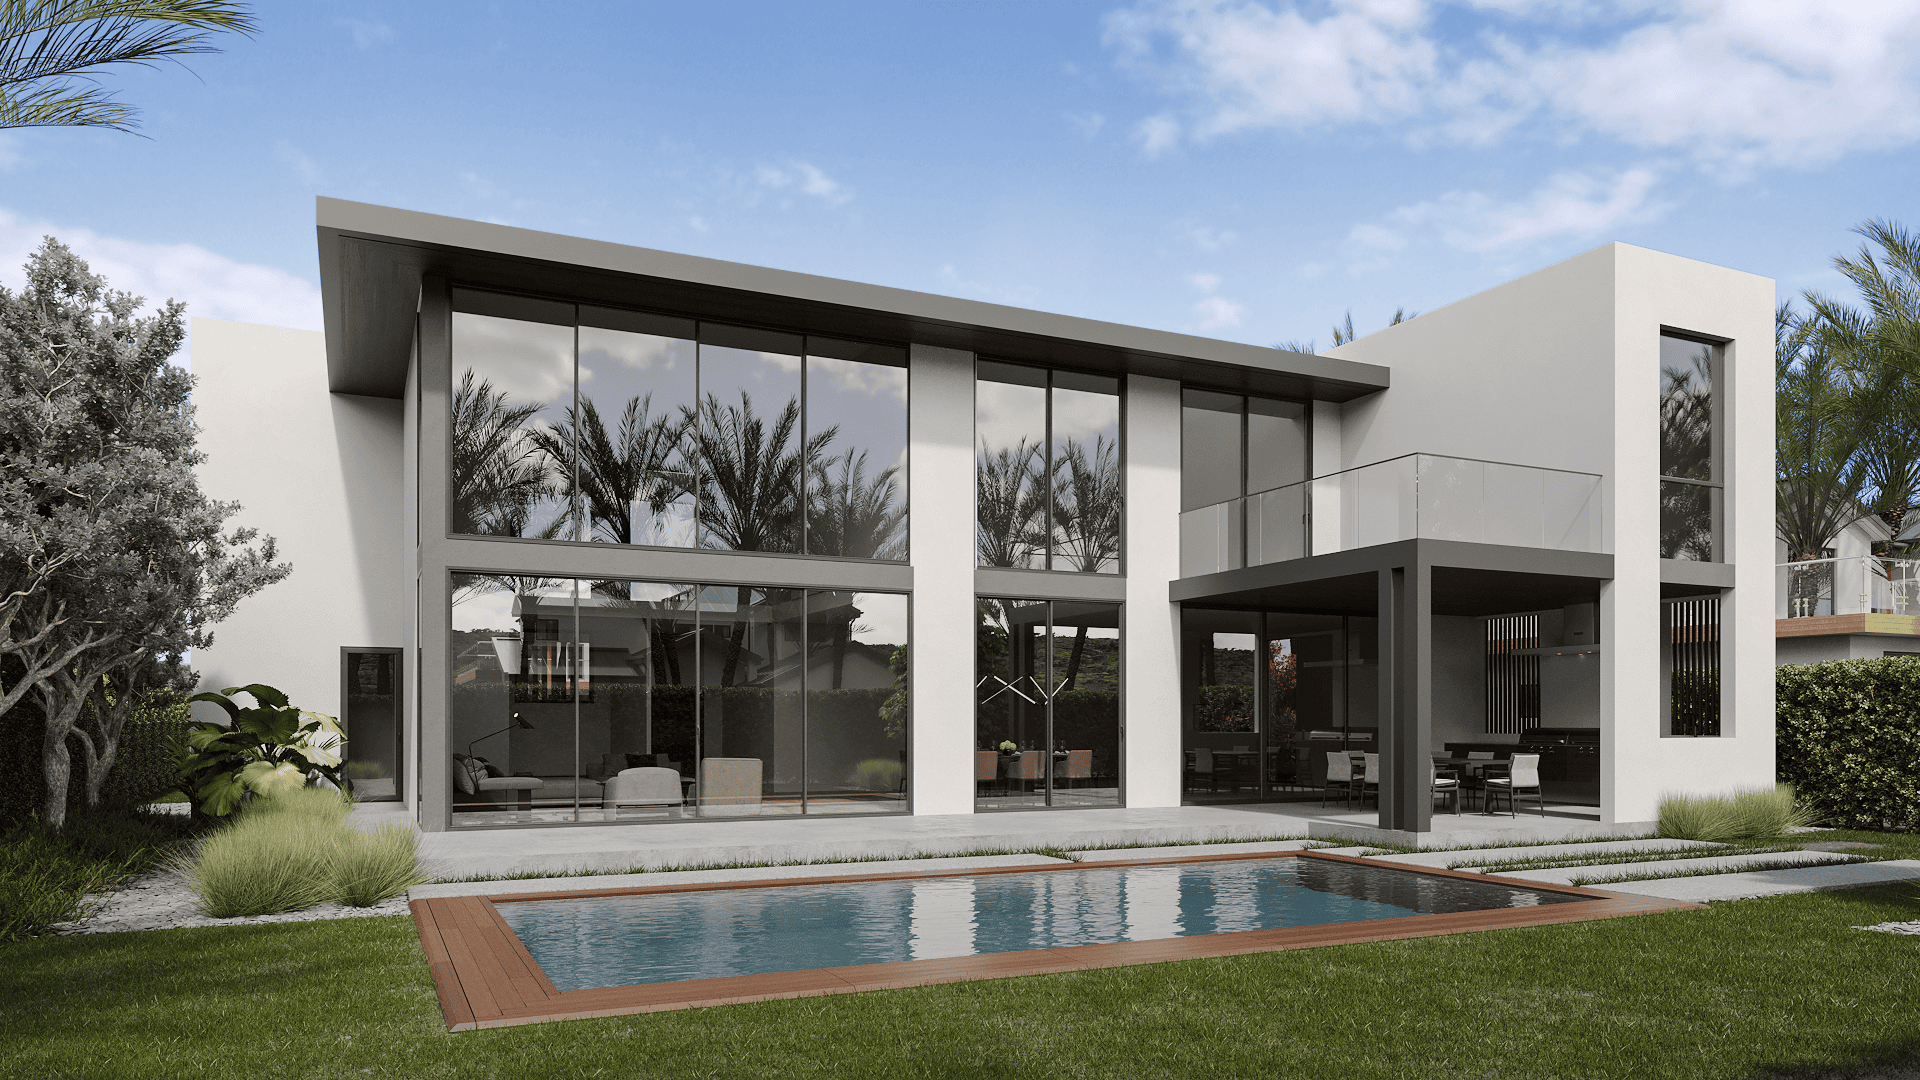
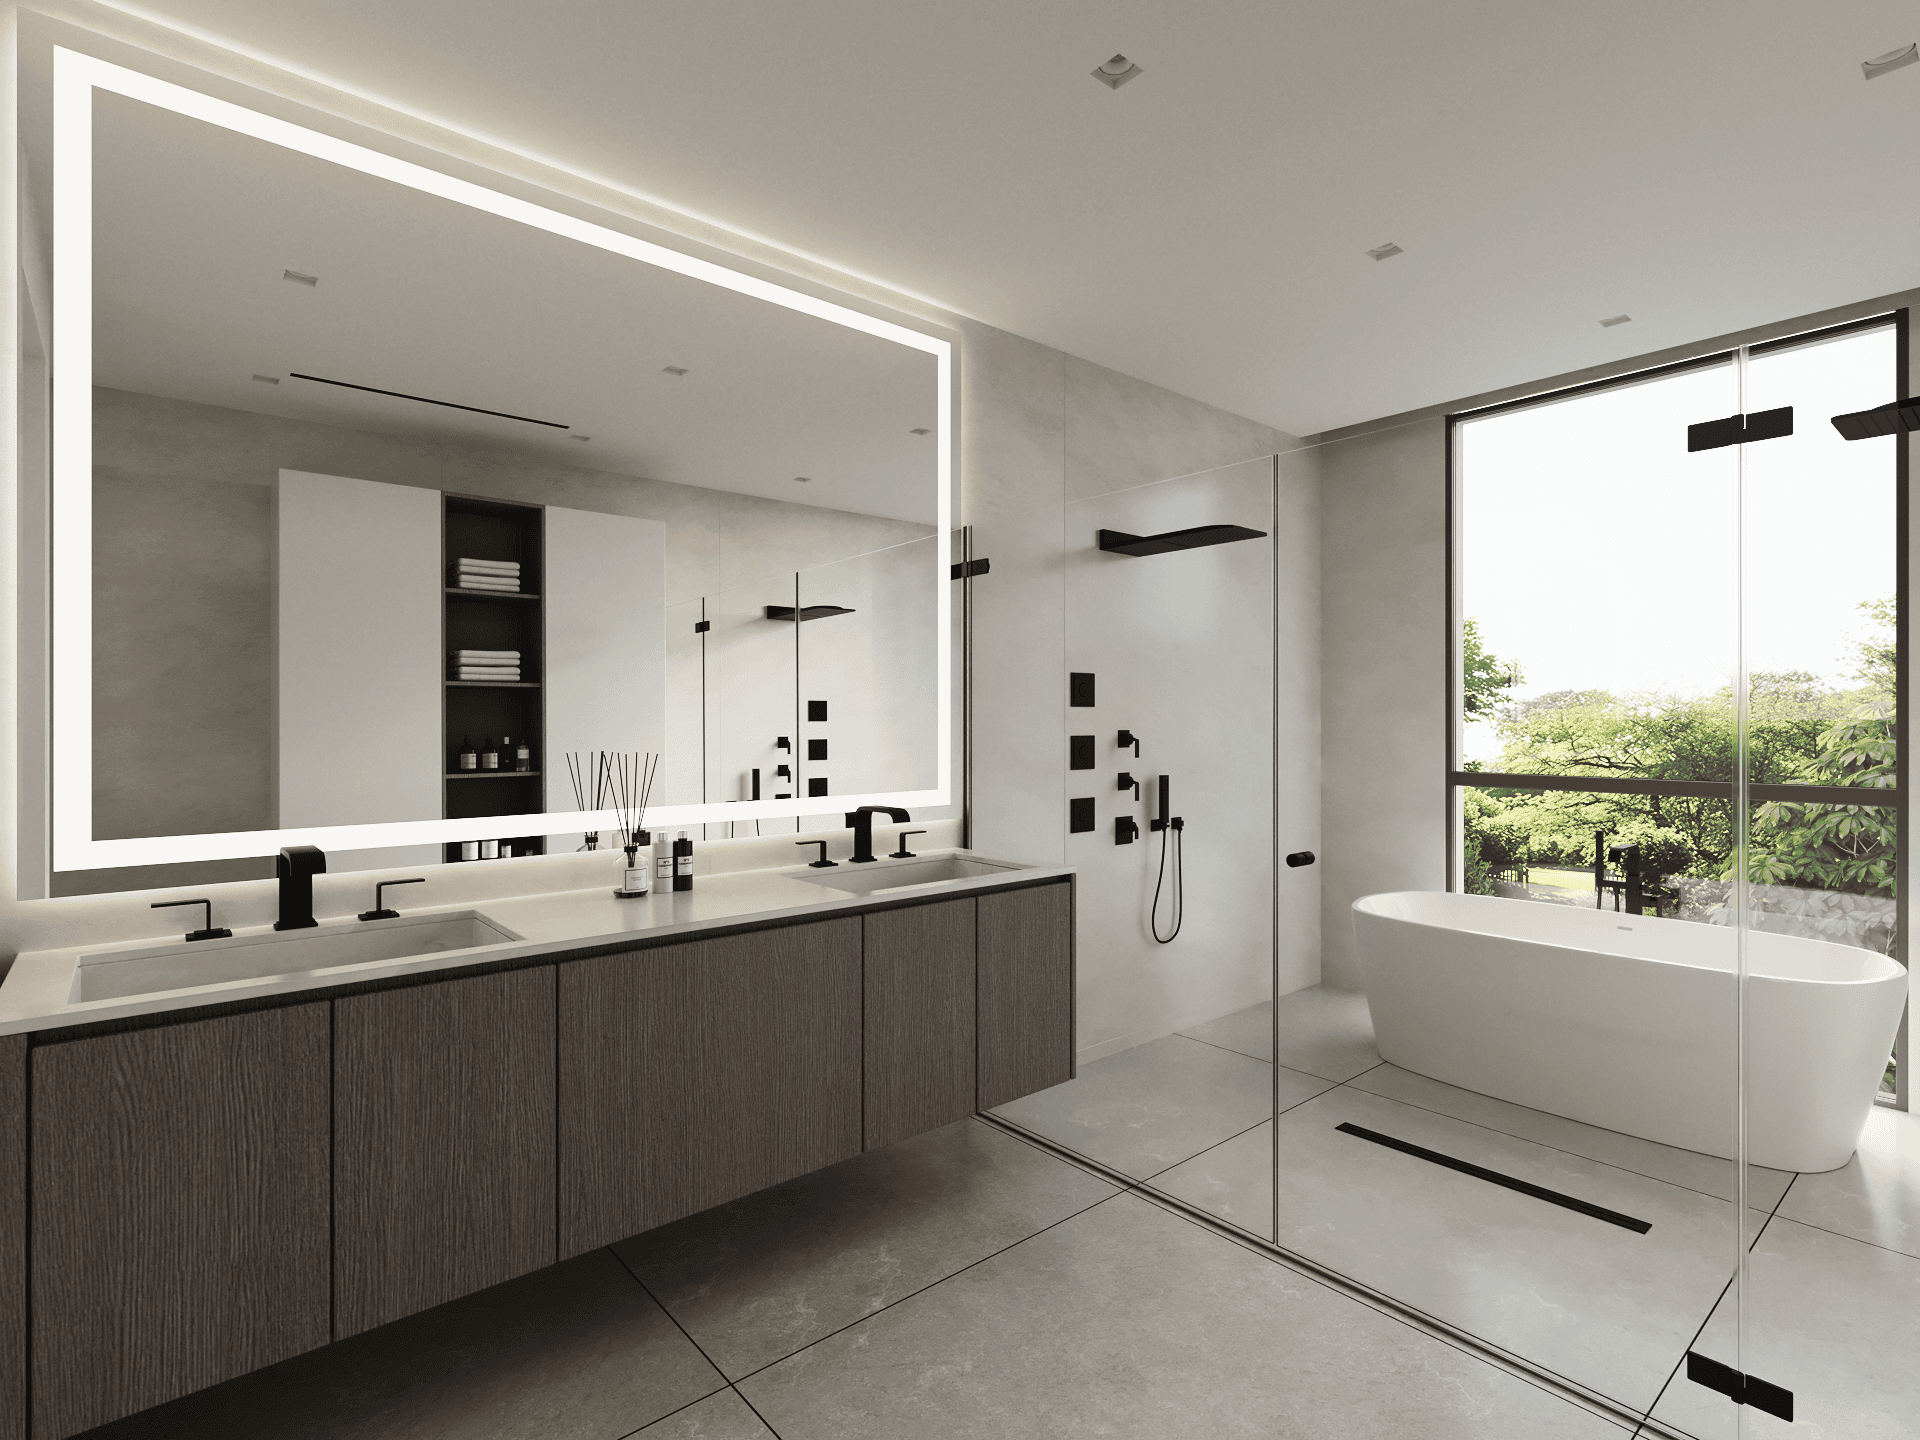
 Draft Render
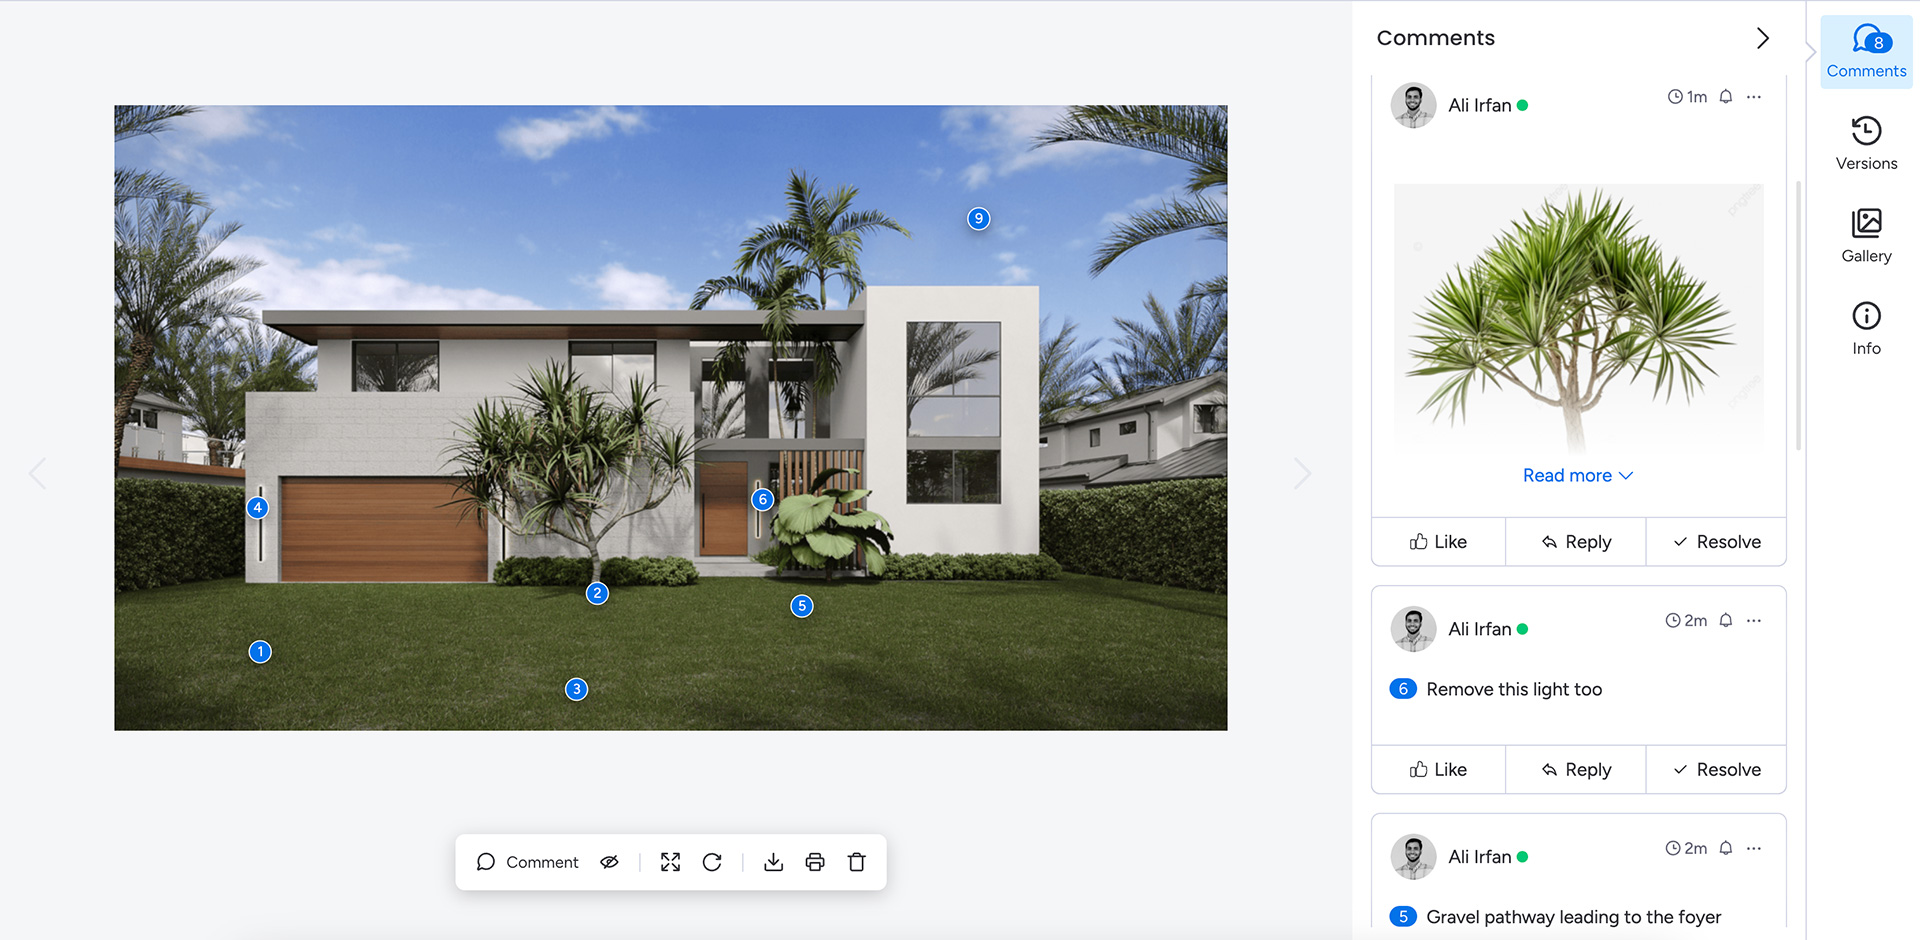
Step 5: One Click Revisions
No project is perfect on the first go, and we understand that. That’s why revisions are an integral part of our workflow. You review the draft renders and let us know what needs tweaking. We offer two free rounds of revisions to make sure everything is just right. Whether it’s adjusting the lighting, changing textures, or adding elements, we’re on it. Your feedback is invaluable, and we use it to fine-tune the visuals to meet your expectations.
We believe that collaboration is key to creating the best possible results. We listen to your feedback and work closely with you to make sure that the final renders are exactly what you envisioned. Our goal is to make sure you’re completely satisfied with the final product.
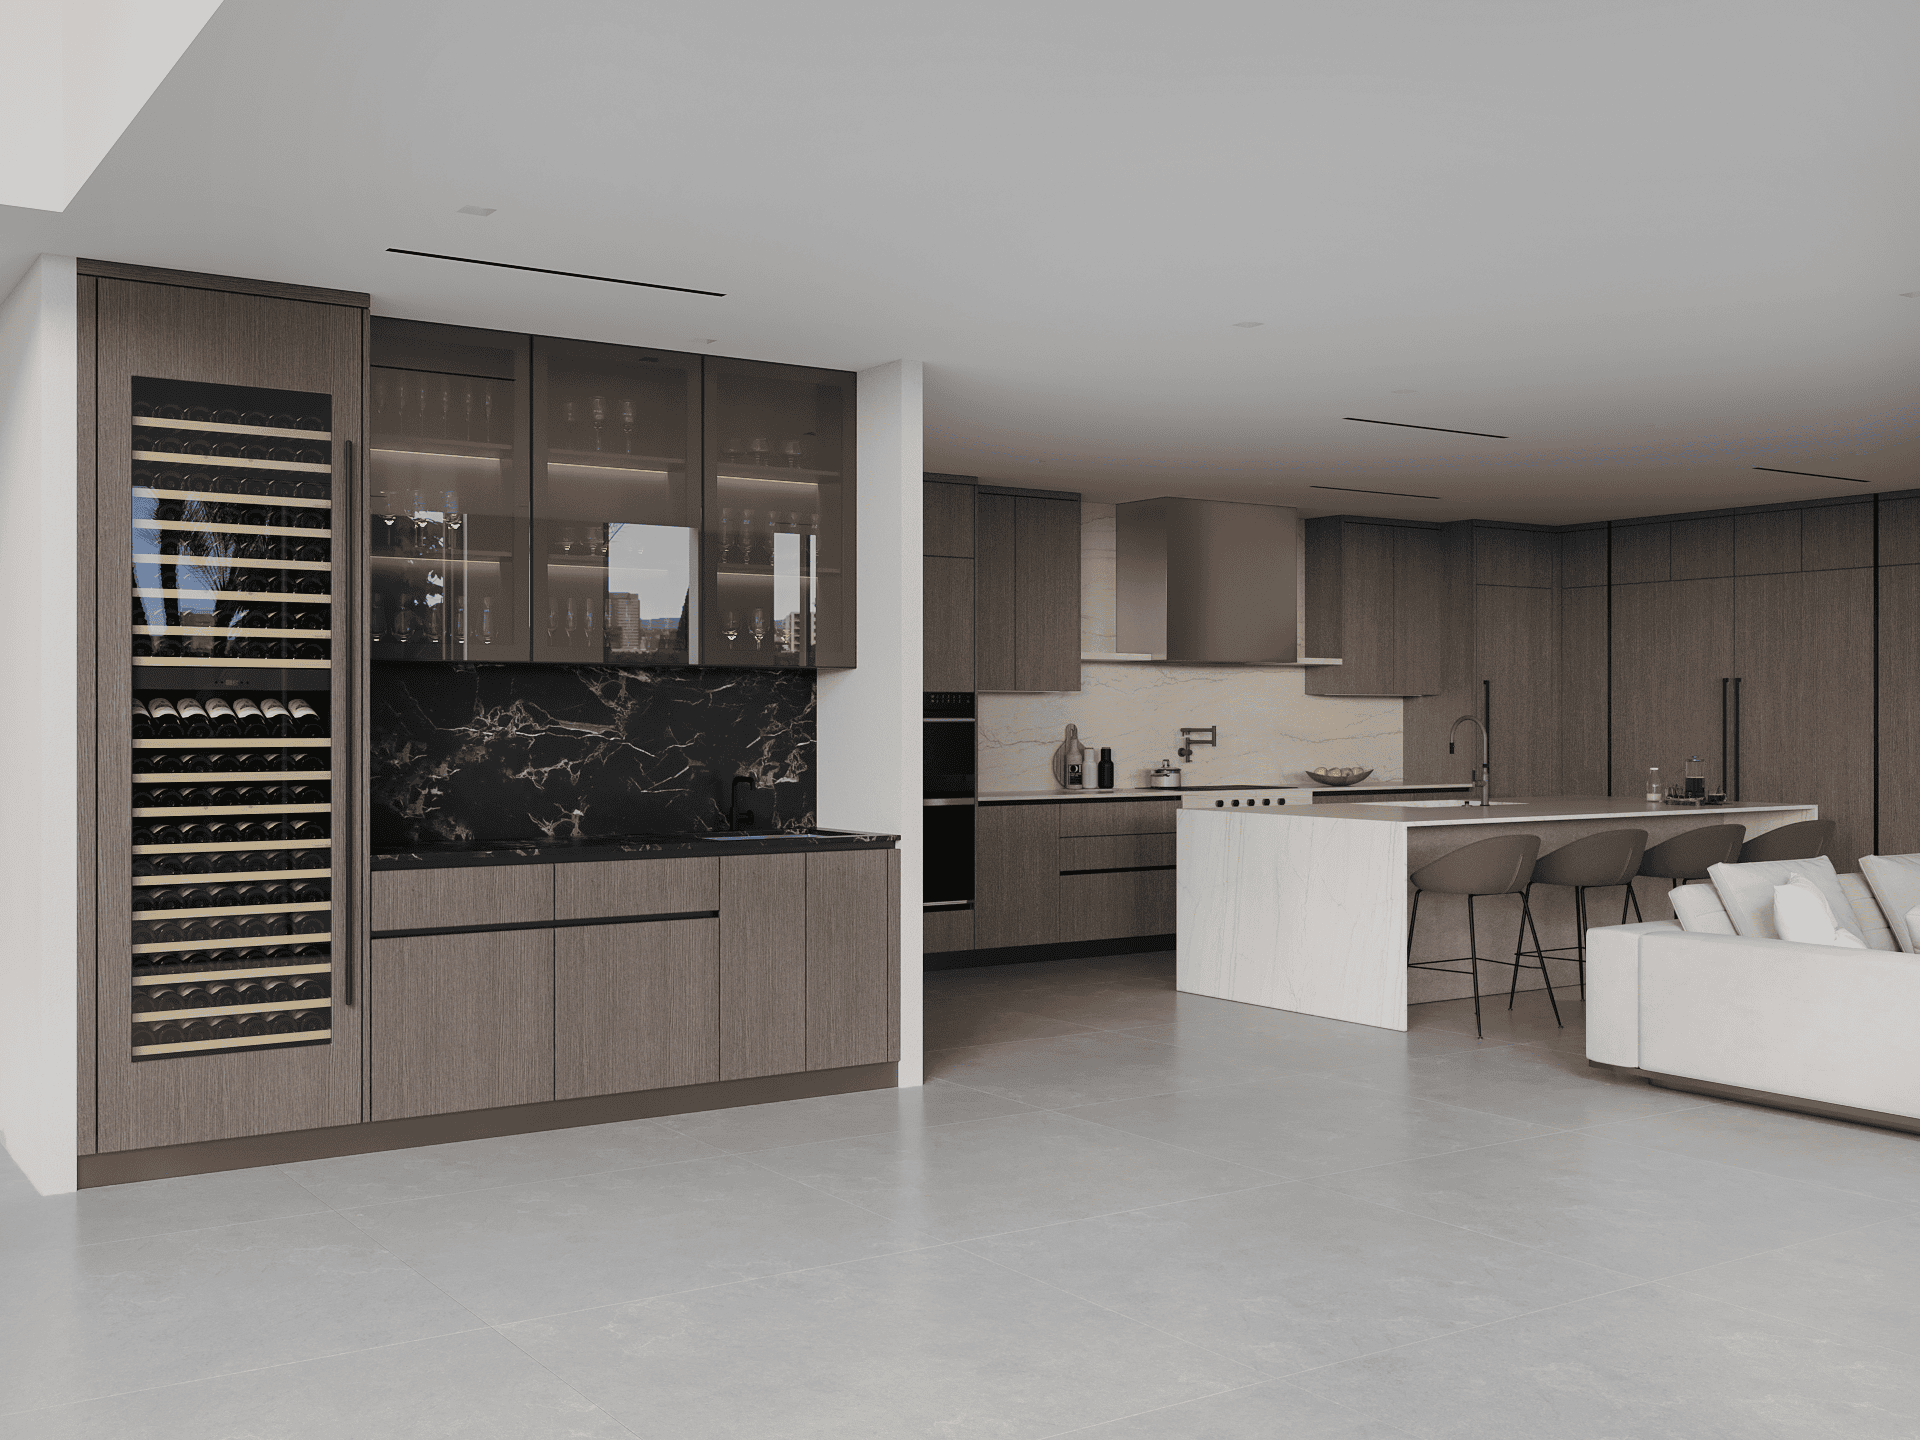
Step 6: Final Renders and Delivery
After revisions, it’s time for the grand finale. We incorporate all your feedback and work our magic to produce high-quality, photorealistic renders. This includes adding any final touches, post-processing in Photoshop, and ensuring every detail is perfect. We use AI to add humans where necessary, creating dynamic and lifelike scenes.
Once everything is polished to perfection, we deliver the final renders. You’ll receive the original files either through Google Drive or our client portal, whichever is more convenient for you. We believe in making the delivery process as smooth and hassle-free as possible.
We also provide you with the source files, so you have everything you need for future use. Whether you need the files for marketing purposes, presentations, or any other use, we’ve got you covered.
And there you have it, the unique and detailed workflow of The Render Unit. We pride ourselves on our thorough process, ensuring every project is handled with care and precision. From the initial discovery call to the final high-quality renders, we’re with you every step of the way. Our goal is to make your vision a reality, providing a seamless and enjoyable experience throughout. We believe in the power of collaboration and open communication, and we’re committed to delivering results that exceed your expectations.
Thanks for taking this journey with us, and we can’t wait to bring your next project to life! Whether you’re an architect, interior designer, or real estate developer, we’re here to help you create stunning visualizations that capture the essence of your project. Let’s get started and make something amazing together.


